
Level 1 sweep and inspection to the NFPA 211 annual standard - flue, crown, cap, and flashing checked and photographed
Chimney sweep logs do not sweep chimneys. They loosen some creosote - which then falls where a brush and vacuum still have to collect it.
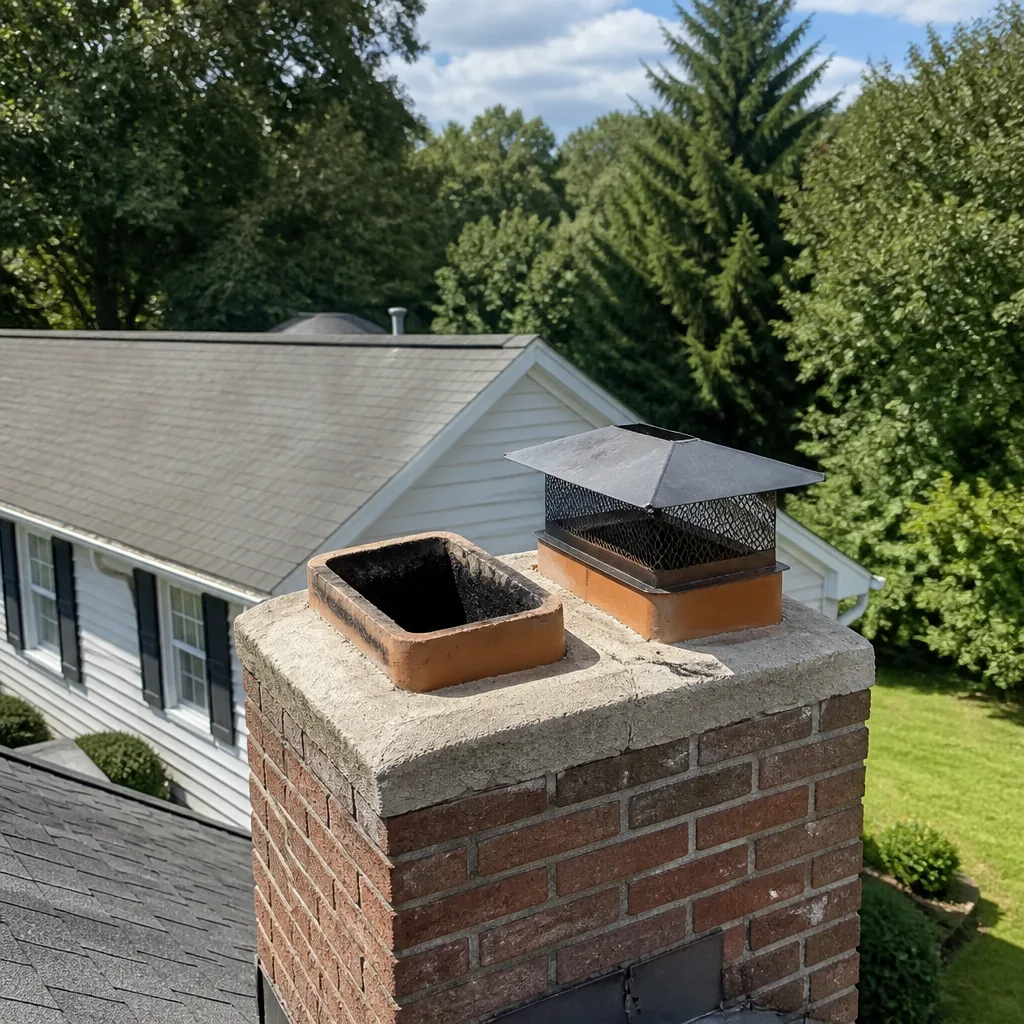
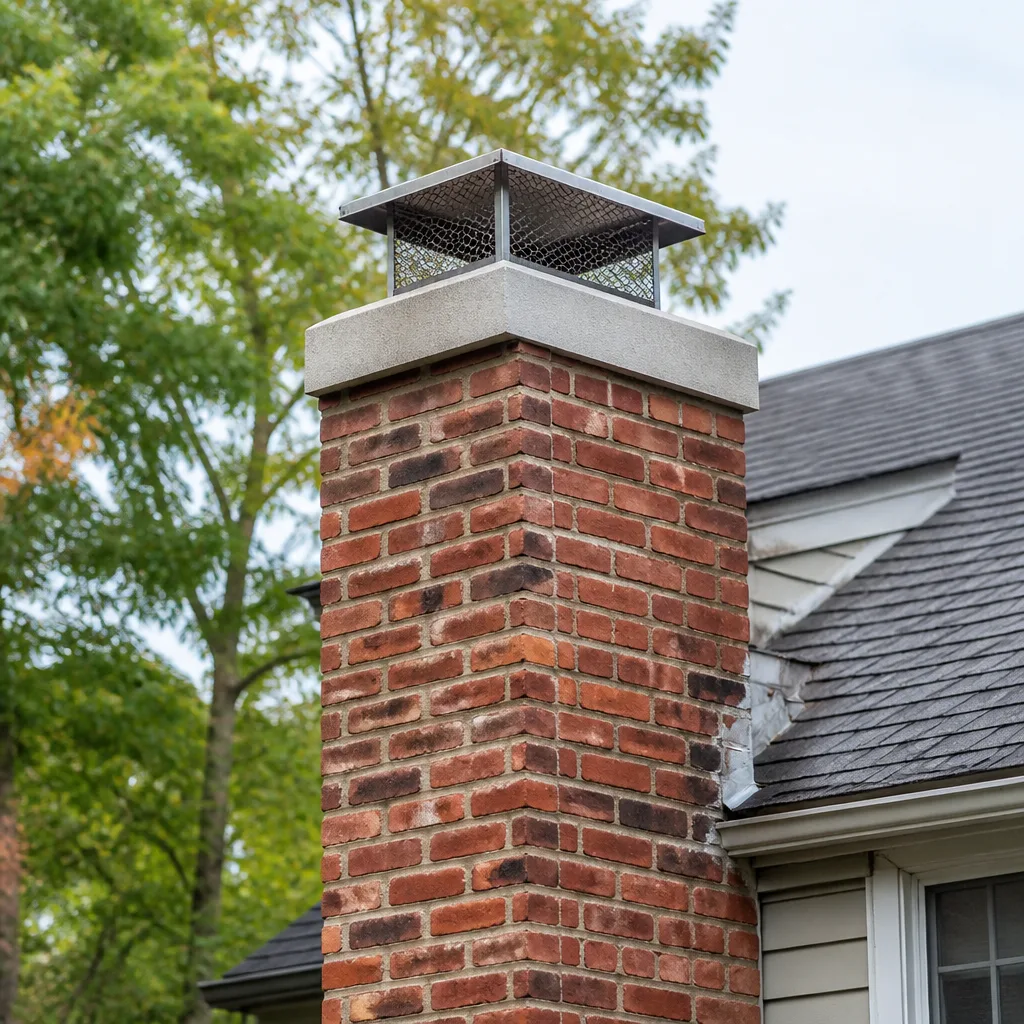
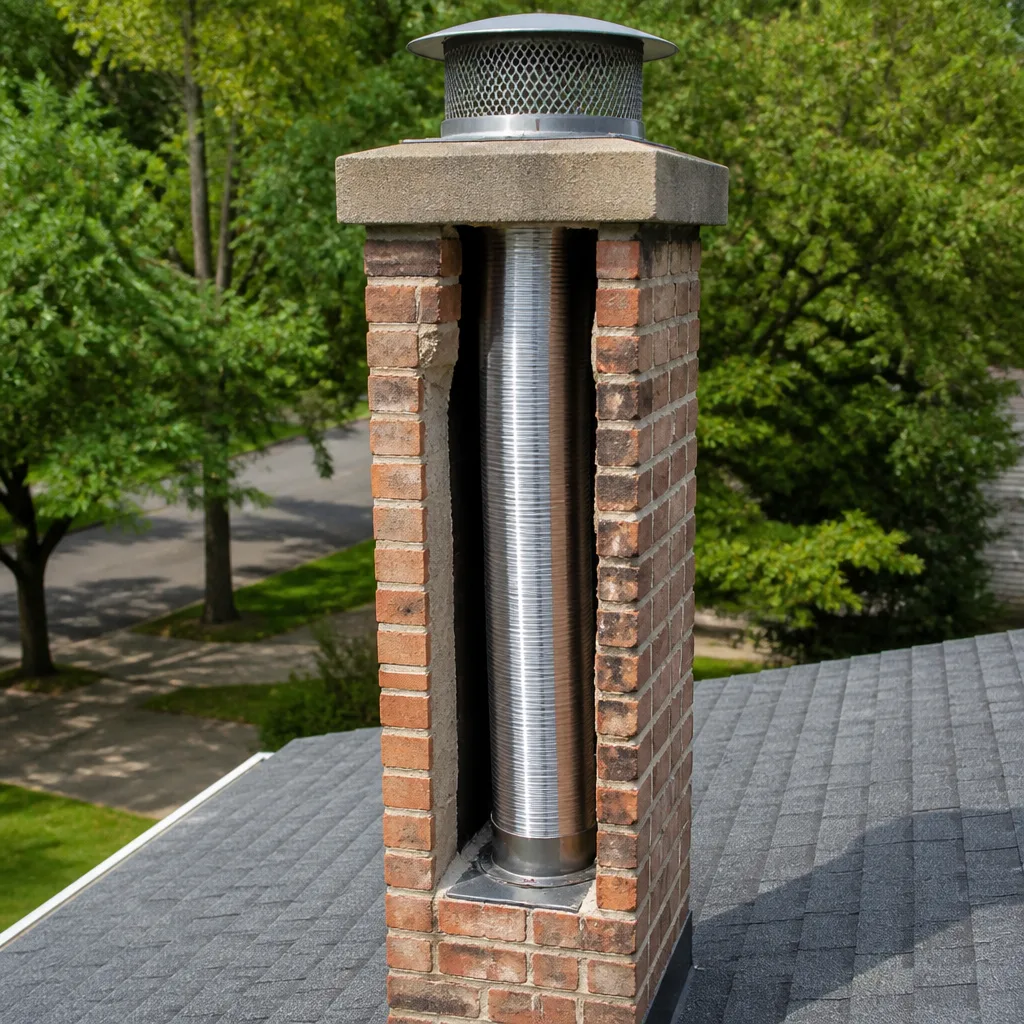
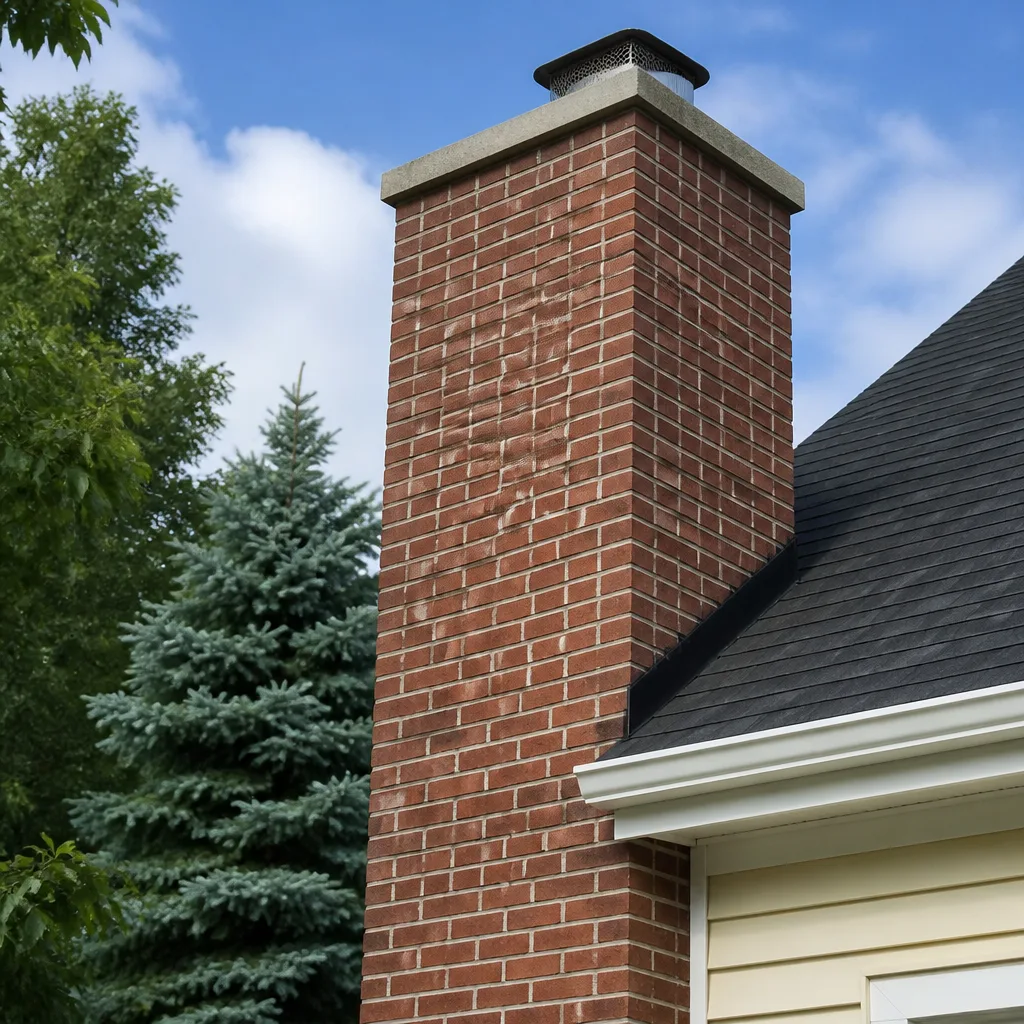
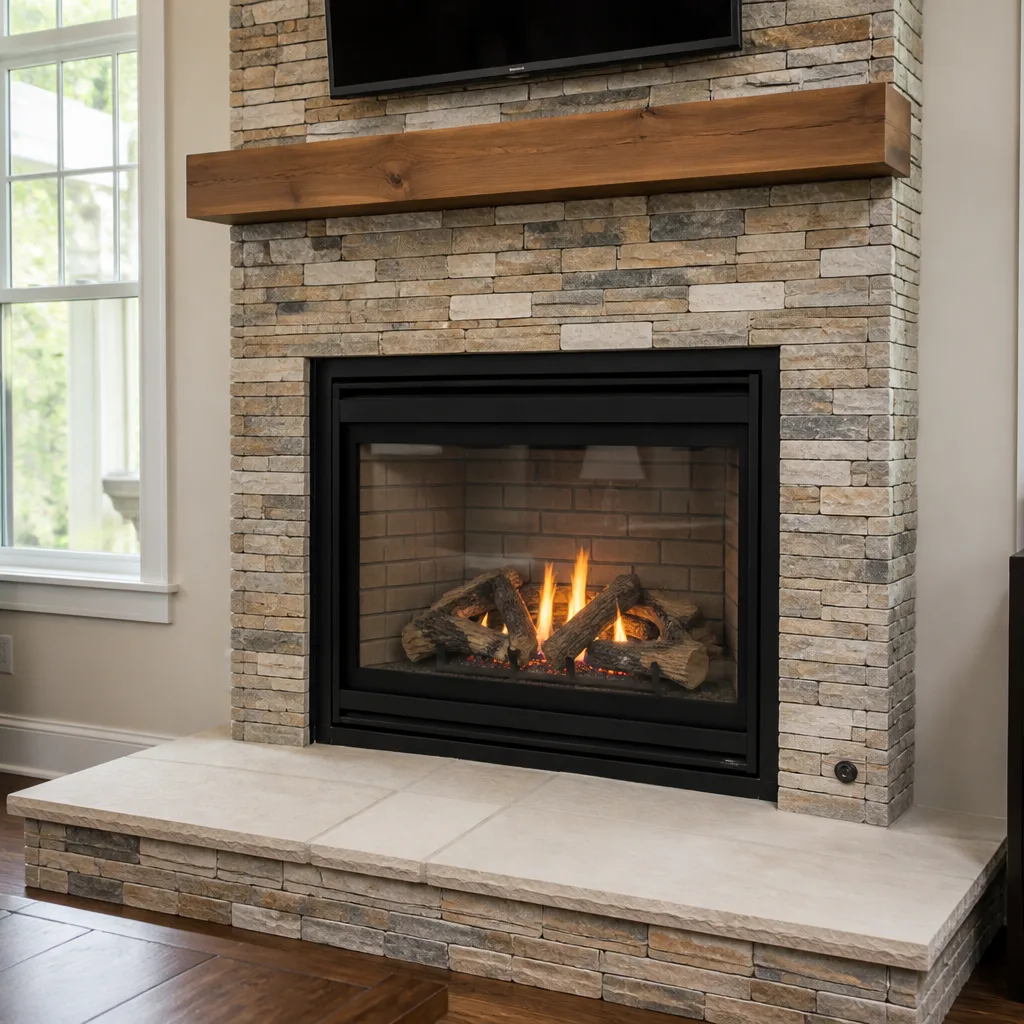
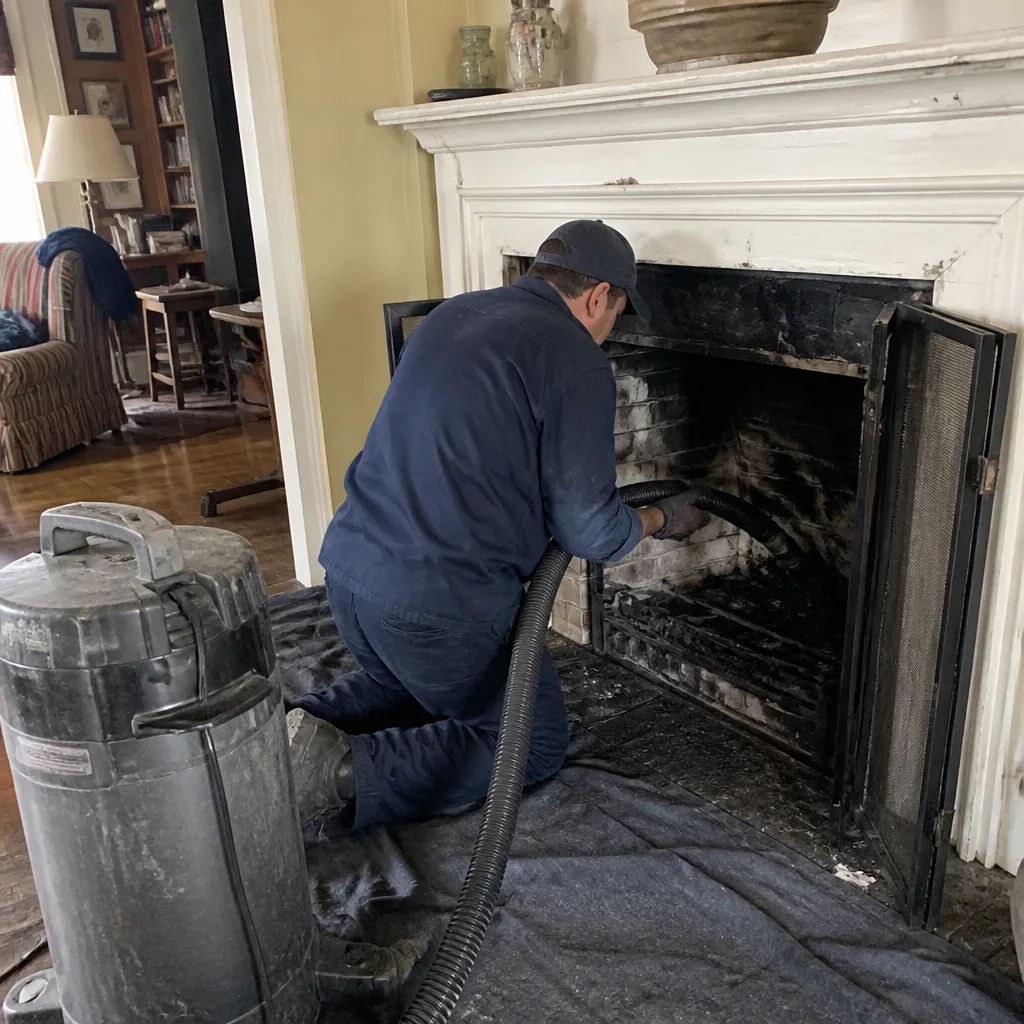 Before
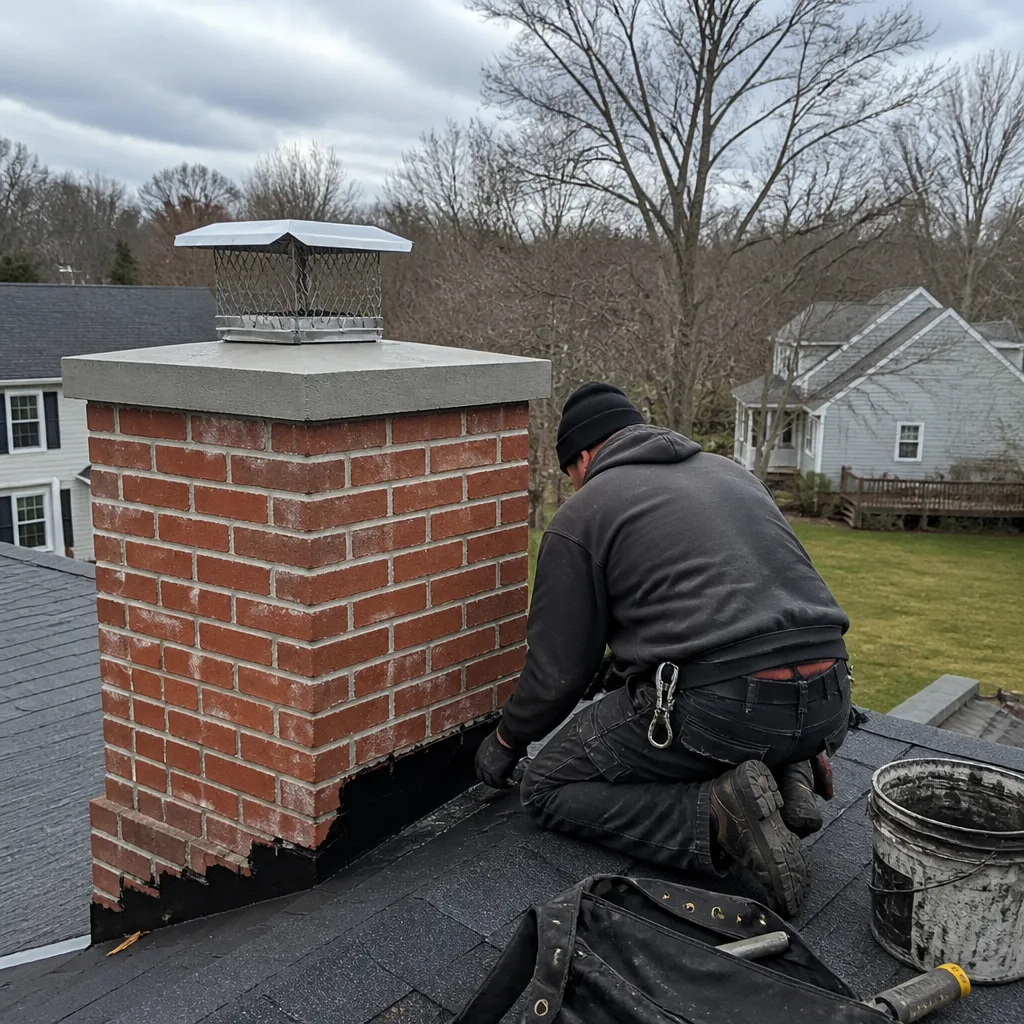 After
After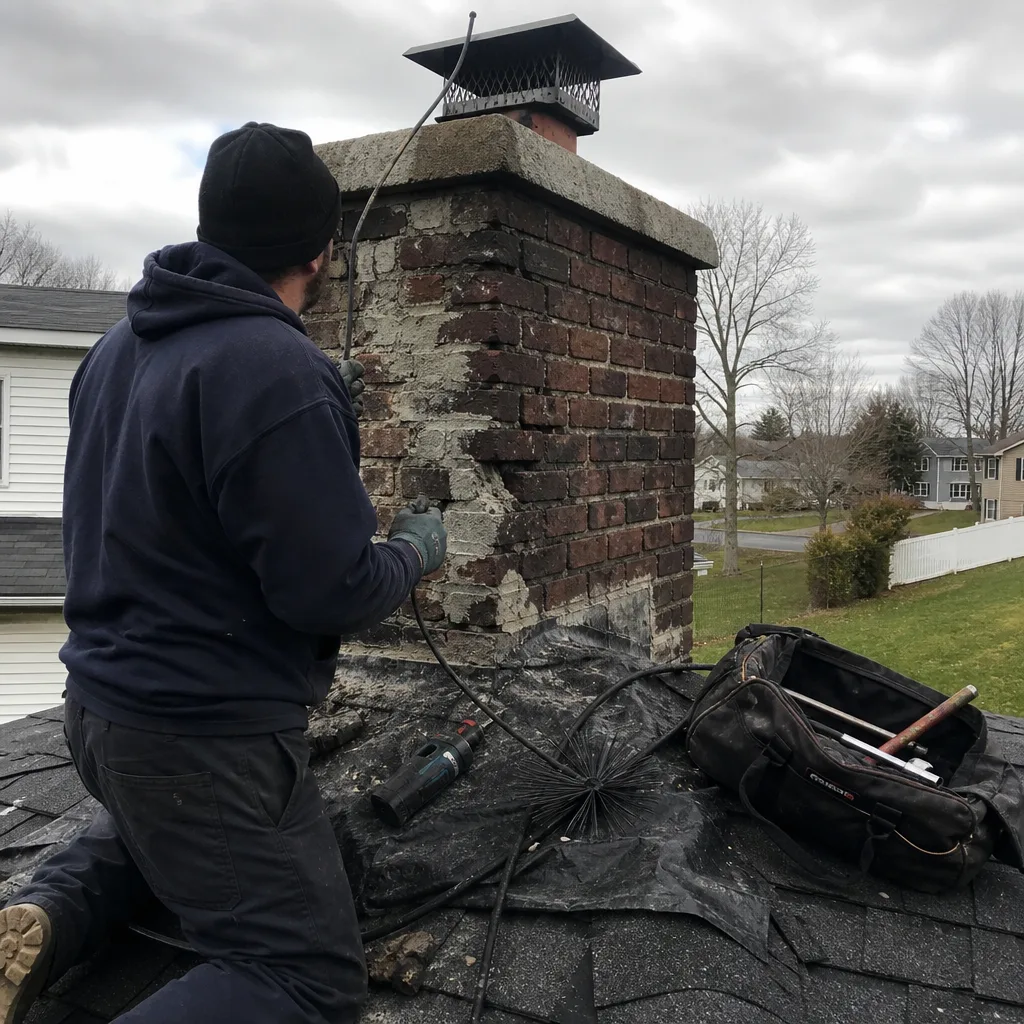 Before
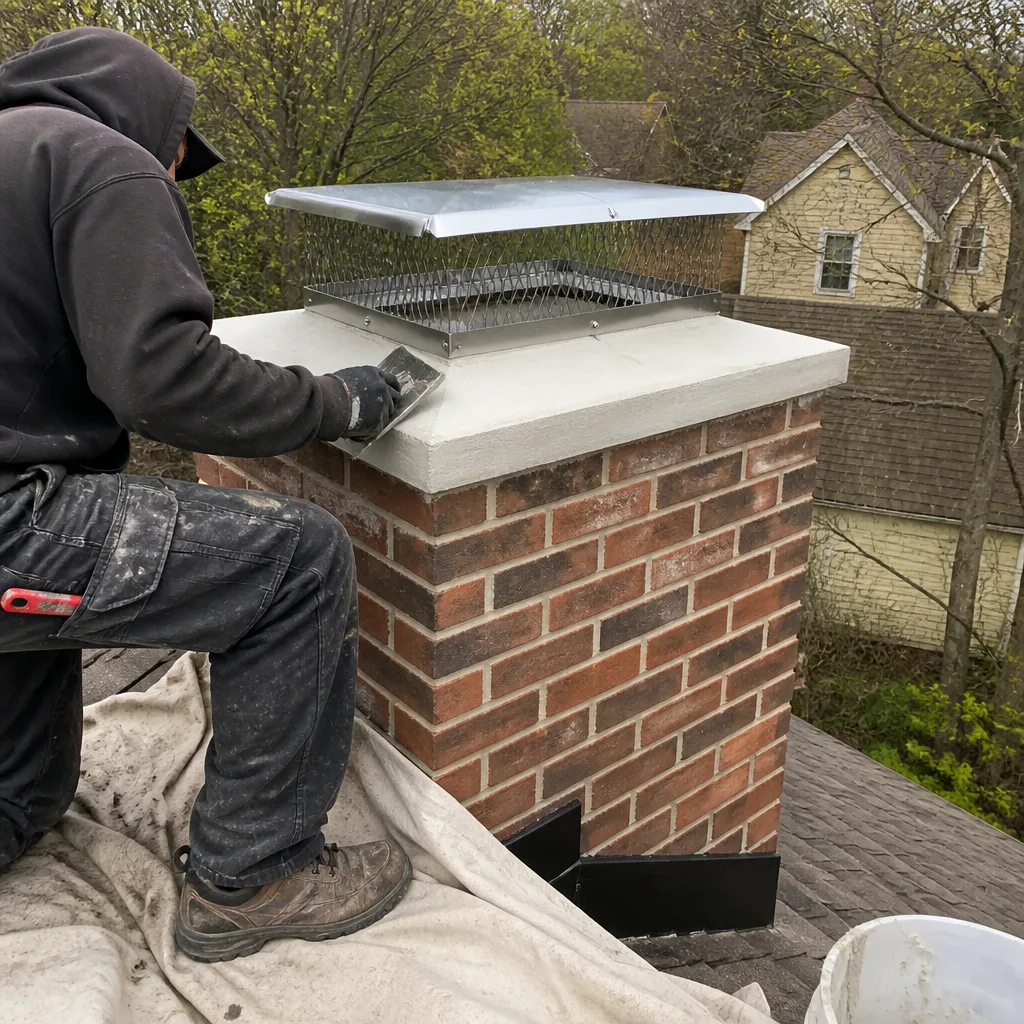 After
After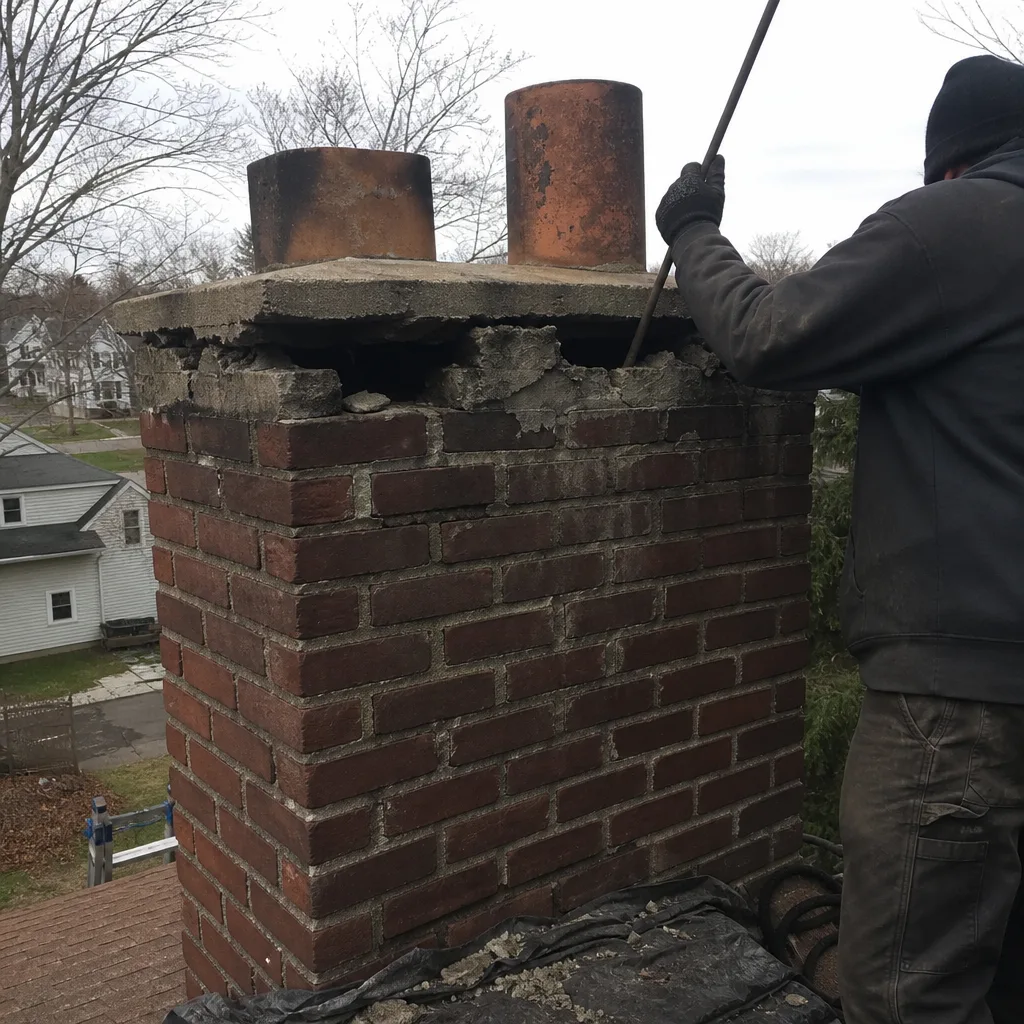 Before
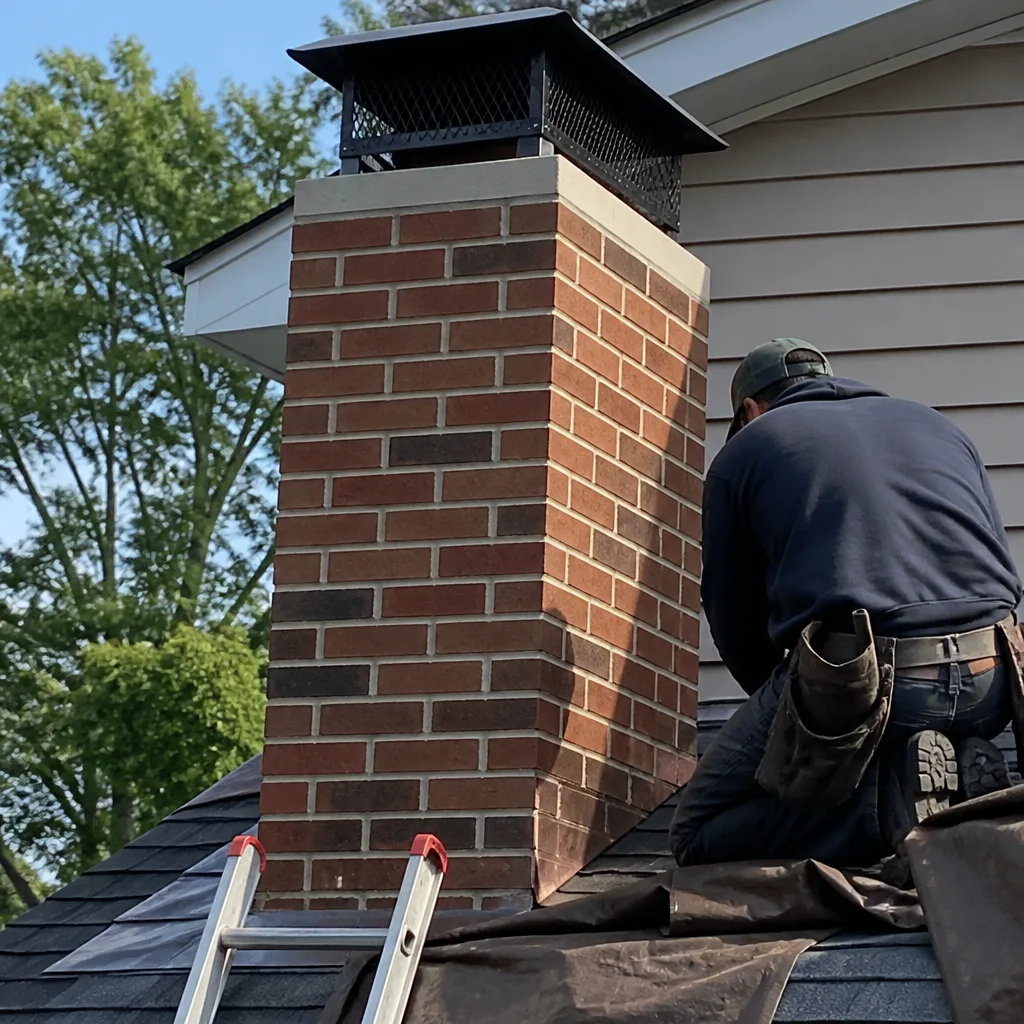 After
AfterFamco Chimney Cap Installation: The Bristol Owner’s Guide
We install Famco chimney caps and replace failed Famco cap installations throughout Bristol, with most jobs running between $340 and $620 installed, including the cap itself. The majority of Bristol homeowners call us after a windstorm or a heavy rain, when the old cap is hanging sideways off the flue or rattling loud enough to hear from the living room. The good news: if you’ve already got the Famco cap and it’s failed, we can usually match the replacement on the first visit. Top Hat Chimney is an independent local shop, not a Famco dealer, but we have been installing their caps and matching their mounting patterns for years.
Key takeaways:
- Famco cap failure in Bristol is almost always the mounting brackets or the screen, not the hood itself
- Installed replacement typically runs $340 to $620, parts and labor, with the exact price set before work begins
- We stock common Famco sizes and stainless mounting hardware on the truck
- Every Famco installation is backed by our 90-Day Done Right Promise in writing
Which Famco Models This Applies To
Famco builds caps for both round and square flues, and the installation details differ enough that guessing gets expensive. The round caps generally use a pressure-fit or set-screw mount over a round clay or stainless liner, while the square and multi-flue caps sit on the crown and anchor to the brick or stone with tapcons. The most common Famco units we see in Bristol are the wind-resistant round caps with the divided hood, and the larger multi-flue custom caps on older colonials and capes.
Here’s the compatibility gotcha most owners miss: Famco’s round caps are sized by the outside diameter of the flue tile, not the opening. A cap labeled 13×13 is for a flue that measures 13 inches across the outside, and if you measure the inside and order off that number, you’ll end up a size short. When we come out, we measure the flue, check the crown surface for level, and match the cap to what’s actually there, not what the paperwork on the old one says. For older Bristol homes with softening crown mortar, we may recommend a cap with a wider skirt or an anchor kit that spreads the load so the cap is not sitting on points.
Signs Your Famco Chimney Cap Installation Is Failing
- The cap is leaning or crooked. This usually means one of the anchor points has pulled loose from the crown. In Bristol freeze-thaw cycles, water works into the anchor holes, freezes, and slowly chews the concrete apart until the cap loosens.
- You hear metal slapping or drumming in the wind. Set-screw round caps work loose over time as the flue expands and contracts with heat. Once the screws back off a few turns, the hood has enough play to rattle, and every gust sounds like a loose gutter.
- The screen mesh is rusted through or peeling away. Famco’s standard screens are fine mesh stainless, but the screen frame is often a lighter stainless that gives up first, especially on the side that faces prevailing weather. A torn screen stops doing its job, which is keeping birds and bats out and keeping embers from landing on the roof.
- Water is showing up in the firebox after rain. If the cap hood is intact but water is still coming down the flue, the problem is often the mounting plane, not the cap itself. The old installation may have sealed the base with a bead of caulk that has since hardened and split, letting water run under the skirt.
- The cap has simply blown off. In Bristol, we see this most after a nor’easter or a strong line of thunderstorms. When the cap goes, it usually takes part of the crown edge with it or collapses the screen on the way down, so the fix often involves crown patching along with the reinstallation.
Replacement Cost & What’s Included
A Famco chimney cap installation in Bristol with Top Hat Chimney typically runs between $340 and $620, and that price includes the cap, the mounting hardware, the labor to install it, and any minor crown patching needed to give the anchors something solid to hold. The exact number depends mainly on three things: the size of the cap, whether we’re matching an existing Famco unit or sourcing a new one, and how much crown repair the old installation left behind.
You’ll know the price before a single tool comes off the truck. We write it down, you agree to it, and that’s the number on the invoice. No second trip surprises. The cap itself carries Famco’s warranty, and our installation work is covered by our 90-Day Done Right Promise in writing. If the cap we install does not hold or the install fails within 90 days, one call brings Wendell and the crew back at no charge. And if you have a competing written estimate, we’ll give you a free second opinion on it before you decide.
DIY or Call Us?
That depends on your roof, your comfort with heights, and how honest you want to be with yourself about the crown. If your chimney is a low-pitch, single-story situation and you’re steady on a ladder, you can certainly check the obvious things yourself: is the screen torn, are the screws backing out, is there daylight between the skirt and the crown. A quick roof-level inspection will answer a lot.
What goes wrong with DIY Famco cap replacement in Bristol is the anchor work. Most DIY installations fail because the crown under the cap is soft or cracked, and drilling into it just makes it worse. The cap will feel snug for a season and then loosen as the concrete continues to crumble around the anchors. If you’re up there looking at a crown that’s chalky, spalled, or patched with an old layer of silicone that’s pulling away, call us at (860) 743-7743. It’s a better use of a Saturday than finding out the hard way that the cap was the easy half of the job.
FAQs
Most Famco caps in Bristol hold up for 12 to 16 years, but the screen and the mounting hardware typically need attention before the hood itself does. The stainless components wear at different rates, and the combination of winter freeze-thaw on the crown and summer humidity on the fasteners is what eventually takes the installation apart. If your cap is over a decade old and the screws are showing rust or the screen is sagging, it’s usually cheaper to address it before a winter storm finishes the job for you. Call (860) 743-7743 and we’ll take a look.
In maybe two out of three cases, yes. If the cap hood is structurally sound and the screen is intact, re-seating the cap with fresh anchors on a repaired crown often solves the problem for a fraction of the replacement cost. If the screen is rusted through or the mounting collar is distorted from years of wind, you’re better off putting the money toward a new unit. We’ll tell you plainly which one you’re dealing with.
Most single-cap installations take about 45 minutes to an hour on site, not including any crown patching that needs to cure. The crown patch adds time, but not a lot: we’ll set the anchors, bed the cap, and you’re done in one visit unless the crown condition requires a return trip after the patch cures. We’ll give you a straight answer when we see the chimney.
We stock the common Famco round and square sizes on the truck, along with the stainless hardware and sealant we’ll need to do the job right. If your flue is an odd size or you need a custom multi-flue cap, we’ll order it through our usual supply channels, and you’ll know the timeline before we schedule the install. We also keep parts for the other brands we service, including DuraFlex, HeatShield, and Gelco, so if the cap is fine but the liner underneath is not, we can handle that in the same visit. Call (860) 743-7743 for an exact quote.
Written by Wendell Pike, Owner, Top Hat Chimney at Top Hat Chimney, serving Bristol and nearby areas.